Out of the box, Microsoft Dynamics 365 Marketing’s email and page designers include only web-safe fonts – the ones that no marketer ever has wanted to use:

Here’s how to add custom fonts and make them show up in the drop-down so your users can work with them easily.
TIP: Do this in the Email Template or Marketing Page Template so that when your users use one of those templates to begin designing a new email or page, they’ll automatically have the new font.
STEP 1: Get the embed code for your custom font. I like Google’s Font library – lots to choose from and easy to get the embed code. We need the <link> code below:
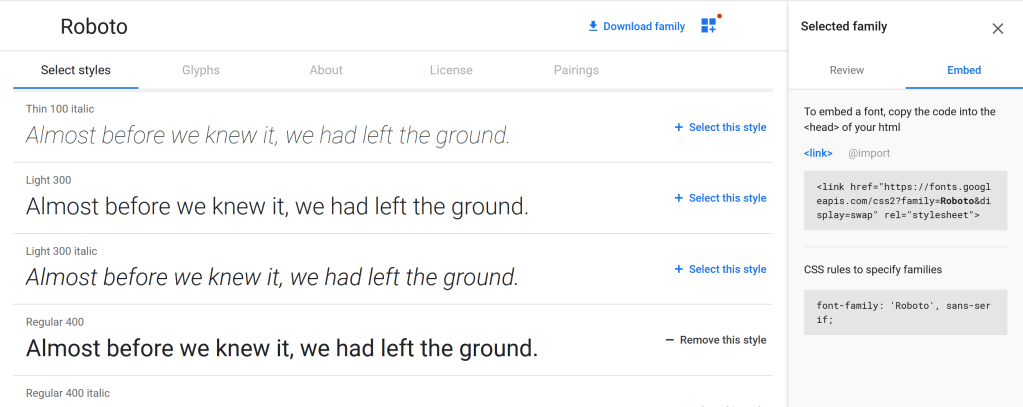
Add this <link> code to the head block in your template’s HTML:

STEP TWO: Add the <meta> tag that turns on additional fonts.
The code to add looks like this:
<meta type="xrm/designer/setting" name="additional-fonts" datatype="font" value="<font-list>">
In the value attribute, we just need to list our custom font or fonts, separating them by a semi-colon:
<meta type="xrm/designer/setting" name="additional-fonts" datatype="font" value="Roboto">
Then add this in the head block of your template’s HTML, like this:

That’s it! Now your template will have your custom font available for your users:


Nice! An easy breezy fix! Also quit hating on Comic Sans – it’s my go to font 😉🤣
LikeLike
Hah, Emma! I agree, Comic Sans is under-appreciated!
LikeLike
Great. Thanks. Im having a demo to my client this Friday. it is just in time. Appreciate that.
LikeLike
Glad it helped!
LikeLike
This is awesome! Thanks a lot. If I were to add several fonts, would I just include all the relevant links of my fonts?
Thanks in advance!
Cheers,
Jana
LikeLike
Yes, you can add additional fonts using CSS links. For them to be listed in the designer, you would also need to add the font names in the meta tag value for additional-fonts, separating them by semicolons, ie value=”Roboto;Calibri”
LikeLike
Thanks, Actually it’s worked for the desktop version correctly after applied my custom font, but when I checked that page from the mobile browser, the font not showed up and there is only the default font! how to make it show up also on the mobile?
Thanks in advance
LikeLike
It should work on mobile as well, but since it needs to pull the font down from an external source, it could be that a setting on the mobile device is not allowing it, or that the mobile connection is not fast enough or has latency so the font does not get downloaded quickly enough. There’s nothing in the code sample itself that I think could be changed to help this.
LikeLike
Thank you, Matt 🙂
LikeLike